Preface
This guide is based on my pilgrimage experience in Osaka-Kyoto-Toyohashi this year. It only represents my personal experience at that time and place, and does not guarantee the accuracy or timeliness of the information. It is for reference only.
In the following text, amounts are indicated with ¥(CNY) for Chinese Yuan and ¥(JPY) for Japanese Yen.
Things to Prepare Before Departure
Passport
Requirements: You need a blank page and a validity of more than six months. For first-time visa applications, it seems you need to contact your parents, regardless of your age. So communicate with your parents in advance before applying.
Visa
Currently, Japanese visas must be processed through travel agencies. A single-entry tourist visa is the most convenient. I applied through a platform (like Fliggy), costing ¥(CNY)201. Follow the agency's document list, submit materials and mail your passport, then wait for the agency to return it.
The whole process took about a week or so. I mailed it on Friday and received my passport on Wednesday of the third week (12 days, 8 working days).
The single-entry tourist visa is electronic and will be sent to your email. Save a screenshot, and it's recommended to print it out for emergencies.
Flights and Hotels
You can use various travel platforms to find discounted flights and hotels. It's recommended to book in advance. For hotels, keep the email confirmation for emergencies.
Since I traveled in the off-season, the prices were relatively cheap: round-trip flight ¥(CNY)1026, hotel for four nights ¥(CNY)1046.
Note that Japanese hotels may charge a tax of about ¥(JPY)200 at check-in, even if you already paid taxes on the domestic platform. Also, unlike in China, check-in times are later and check-out times are earlier. It's advisable to confirm these times in advance and plan your daily itinerary accordingly.
Backpack
For carrying your belongings. Budget airlines have strict luggage requirements, so it's recommended to use a small suitcase or a hiking backpack. Although there's a 7kg limit, they usually don't weigh it as long as the size isn't excessive.
Considering I had many pilgrimage spots, dragging a suitcase would be very inconvenient. So I bought a 32L hiking backpack in advance for ¥(CNY)350. This size easily fits four sets of summer clothes and some personal items.
Japanese Yen Cash
It's highly recommended to bring an appropriate amount of Japanese Yen cash. Perhaps because I spent two and a half days in Toyohashi, a small city, I felt that most places except convenience stores required cash. Also, it's hard to find machines that support Alipay or WeChat Pay for recharging transportation cards. I brought ¥(JPY)20000 in cash for five days, but on the last day I still didn't have enough to buy a ticket to the airport. I had to withdraw cash using a UnionPay card, and the minimum withdrawal was ¥(JPY)10000, so I ended up bringing ¥(JPY)8000 back home.
My exchange rate comparison: Visa credit card < Alipay << UnionPay card withdrawal << Airport currency exchange. Unless absolutely necessary, never exchange money at the airport. The rate is high, plus a 5.57% fee + ¥(JPY)800 handling charge. In contrast, UnionPay ATM withdrawal has a normal rate, 1% fee + ¥(CNY)12 handling charge, which looks much better.
Note: The Visa credit card here refers to a card with pre-purchased Japanese Yen. If you have a credit limit and use it directly, I'm not sure about the exchange rate.
Others
- Change of clothes: Japanese hotels usually have washing machines and dryers (you can confirm when booking). One wash costs about ¥(JPY)300, so you don't need to bring too many clothes. Disposable underwear and socks are recommended for convenience. Shoes must be comfortable; I walked over 40,000 steps in Kyoto in one day and got blisters on both feet.
- Electronic devices: Phone, charger, power bank, laptop, etc. Two-prong plugs can be used directly without an adapter. (I brought a laptop to copy memory cards; otherwise I barely used it. Bring it according to your needs.)
- Visit Japan Web: Fill out vjw in advance in China, save a screenshot of the QR code. You won't need to fill out an entry card upon arrival, saving a lot of time.
- UnionPay card and credit cards that support foreign currency payments: UnionPay card for cash withdrawal, credit card for favorable exchange rates. If supported, use credit cards first.
- Data SIM card: Buy it in advance in China. I bought one on JD.com and it arrived the next day. Normally, if you use hotel WiFi, you won't use much data; I only used 4.23 GB in 5 days.
- Roaming service: For your regular SIM card, it's recommended to activate roaming before departure. In case the data SIM doesn't work (like what happened to a fellow pilgrim), you can use it temporarily. Also, don't just activate voice and SMS roaming; data roaming must be activated too (I tested that without data roaming, China Telecom had no signal).
- Google Maps: Essential for route searching.
- Translation app: Recommended to have an app with photo translation and conversation translation. In case you encounter staff who don't speak English, you can manage. (Of course, in most cases...)
- Trash bags: There are no public trash cans on Japanese streets, only recycling bins for drink bottles. It's recommended to carry trash bags to collect garbage and dispose of it at the hotel.
Transportation
Don't take a taxi in Japan unless you have deep pockets. Even public transportation is only slightly cheaper than taking a taxi in China.
Transportation Card
If you are an iPhone user, you can set up a Suica card on your phone in advance.
Other phone users need to buy a physical card. Don't buy it in China, as it's more expensive. You can get one at the airport on the machine that sells train tickets. There's a ¥(JPY)500 issuance fee, but it seems you can only pay with cash. You can also search on Xiaohongshu in advance to see if your arrival airport has machines that support other payment methods (cash is very precious, avoid using it if possible, see above).
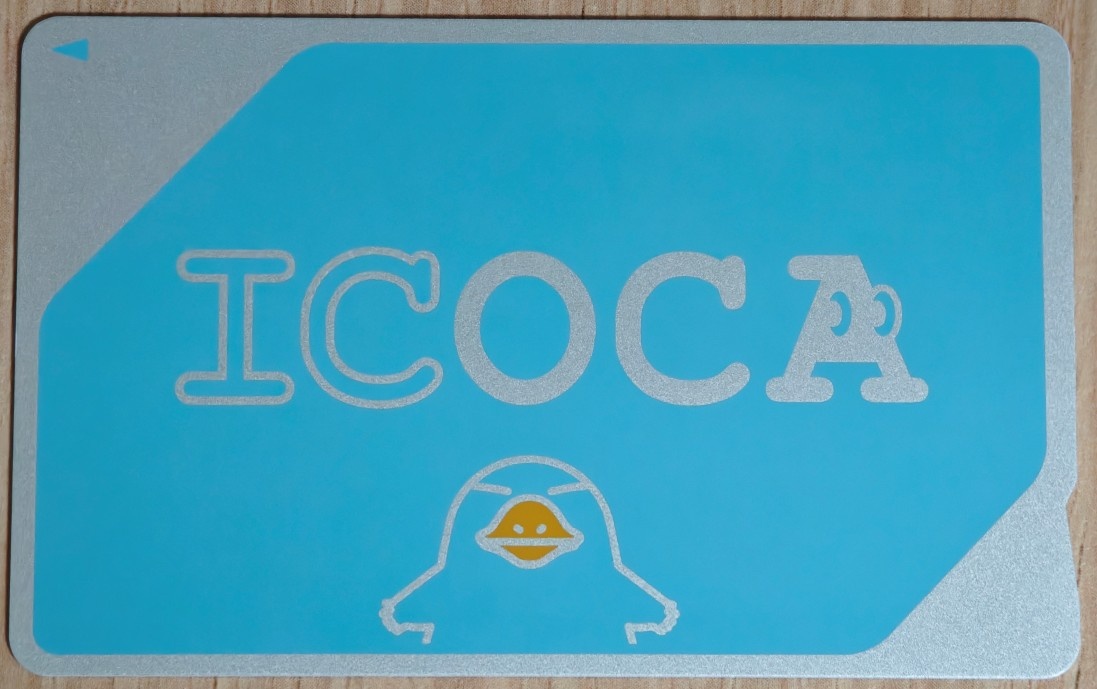
In the Kansai area, it seems you get an ICOCA card, and in Kanto, a Suica card, but they are essentially the same.
Transportation in Japan is relatively expensive. It's recommended to load more money at the airport. I used nearly ¥(JPY)20000 in 5 days.
If you're only playing in one city per day, you can search for that city's one-day pass (example keyword: 豊橋 1日 乗車券), about ¥(JPY)1000. Taking 5-6 rides will pay for itself, but also pay attention to the usage range. Consider whether to buy it based on your travel plan.
If your phone supports NFC, you can download Japan IC Card Balance Checker in advance.
For the last few rides before departure, you can calculate the fare in advance and ask staff to help you top up even just ¥(JPY)30. I ended up with zero balance on my card (actually, I ran out of cash and had to ask staff to help top up exactly enough for the last ride back to Toyohashi Station).
Shinkansen
The Shinkansen is equivalent to China's high-speed rail. You can buy tickets on-site, and you cannot use the transportation card mentioned above. On the machine, select your destination and time, and you'll get a ticket like the one shown below.
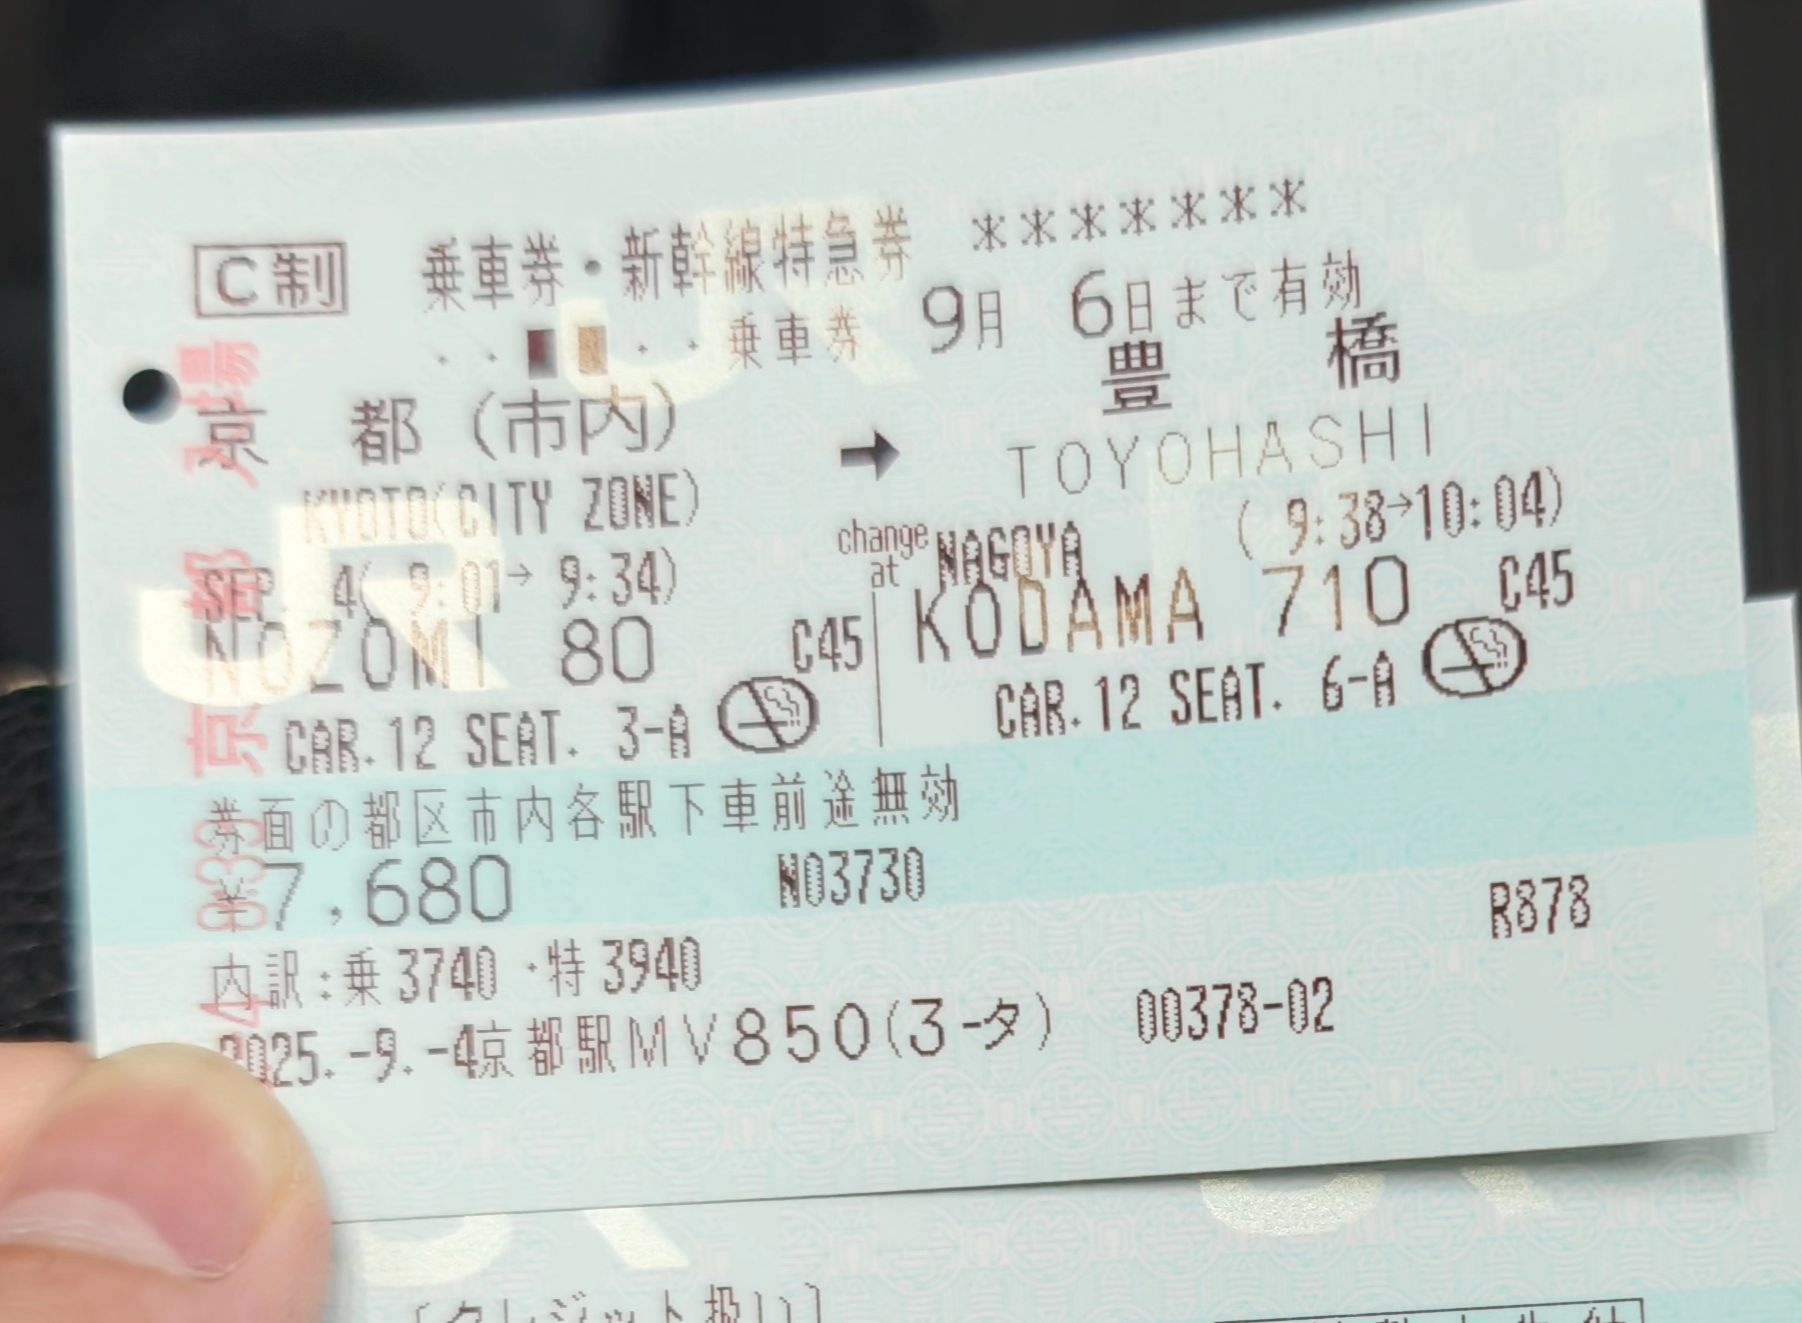
The above ticket involves a transfer. At 9:01, board the NOZOMI 80 train at Kyoto Station, Car 12, Seat 3-A. Arrive at Nagoya Station at 9:34, transfer to the KODAMA 710 train, Car 12, Seat 6-A, departing at 9:38 and arriving at Toyohashi at 10:04. The transfer time is very short; in this case, it was the train on the opposite side of the same platform, so it was okay.
Also, when buying tickets, you'll choose between reserved and non-reserved seats. Non-reserved seats are a bit cheaper (though not much), but you can only sit in specific cars, and seat availability depends on the situation.
Train (Local/Suburban)
Japanese trains can use the transportation card mentioned above, or you can buy tickets at the machine on-site.
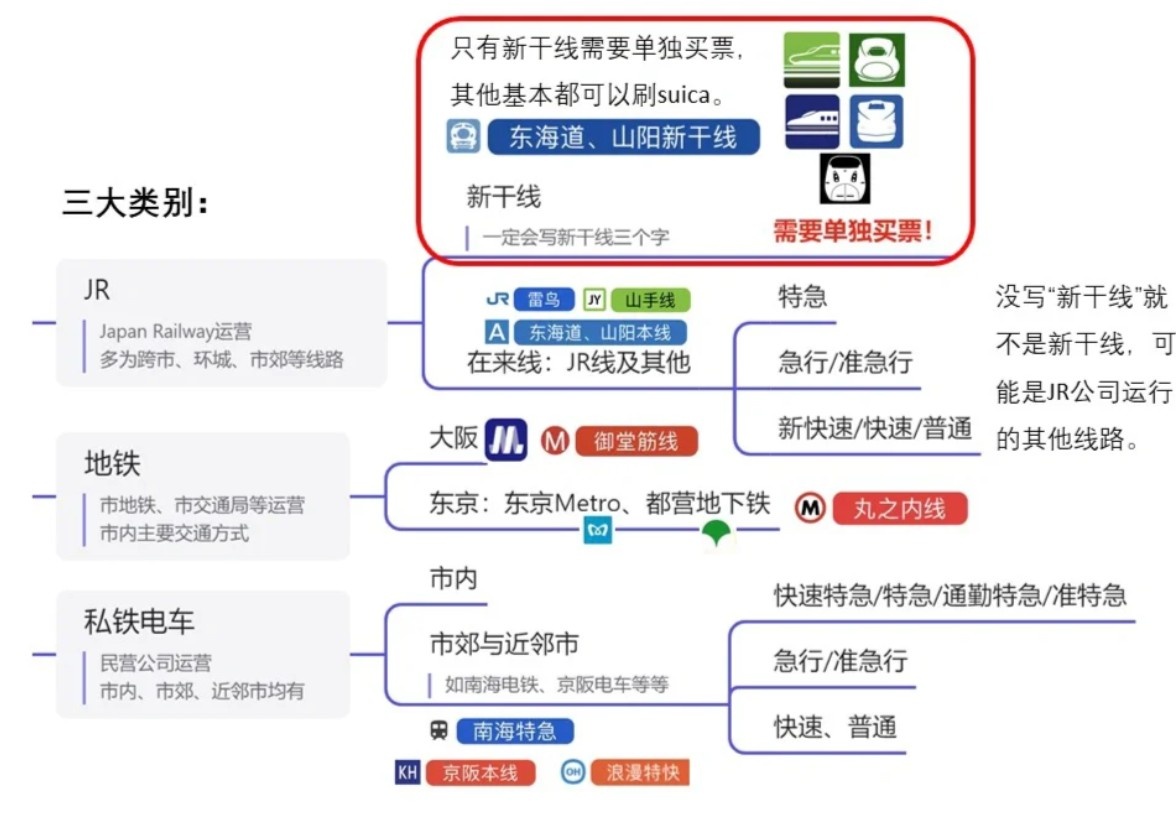
Trains can be quite complex, and the same line may have local, rapid, and limited express services (similar to express buses in China). But generally, just follow the route provided by Google Maps. Additionally, some limited express trains require an extra limited express ticket (usually for intercity travel), and they also have reserved and non-reserved seats.
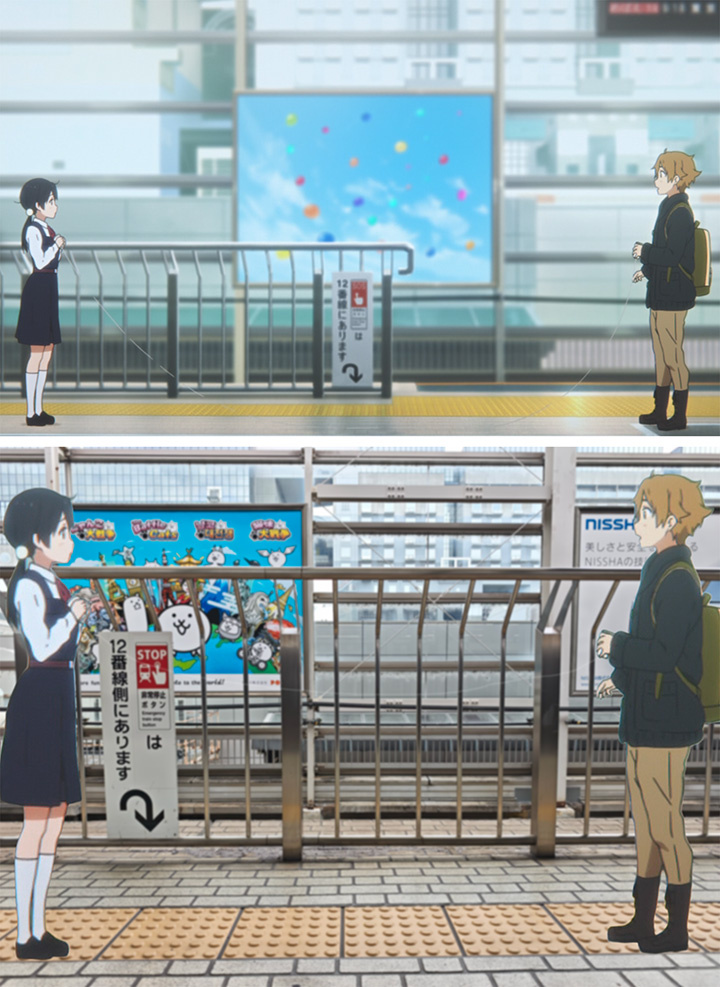
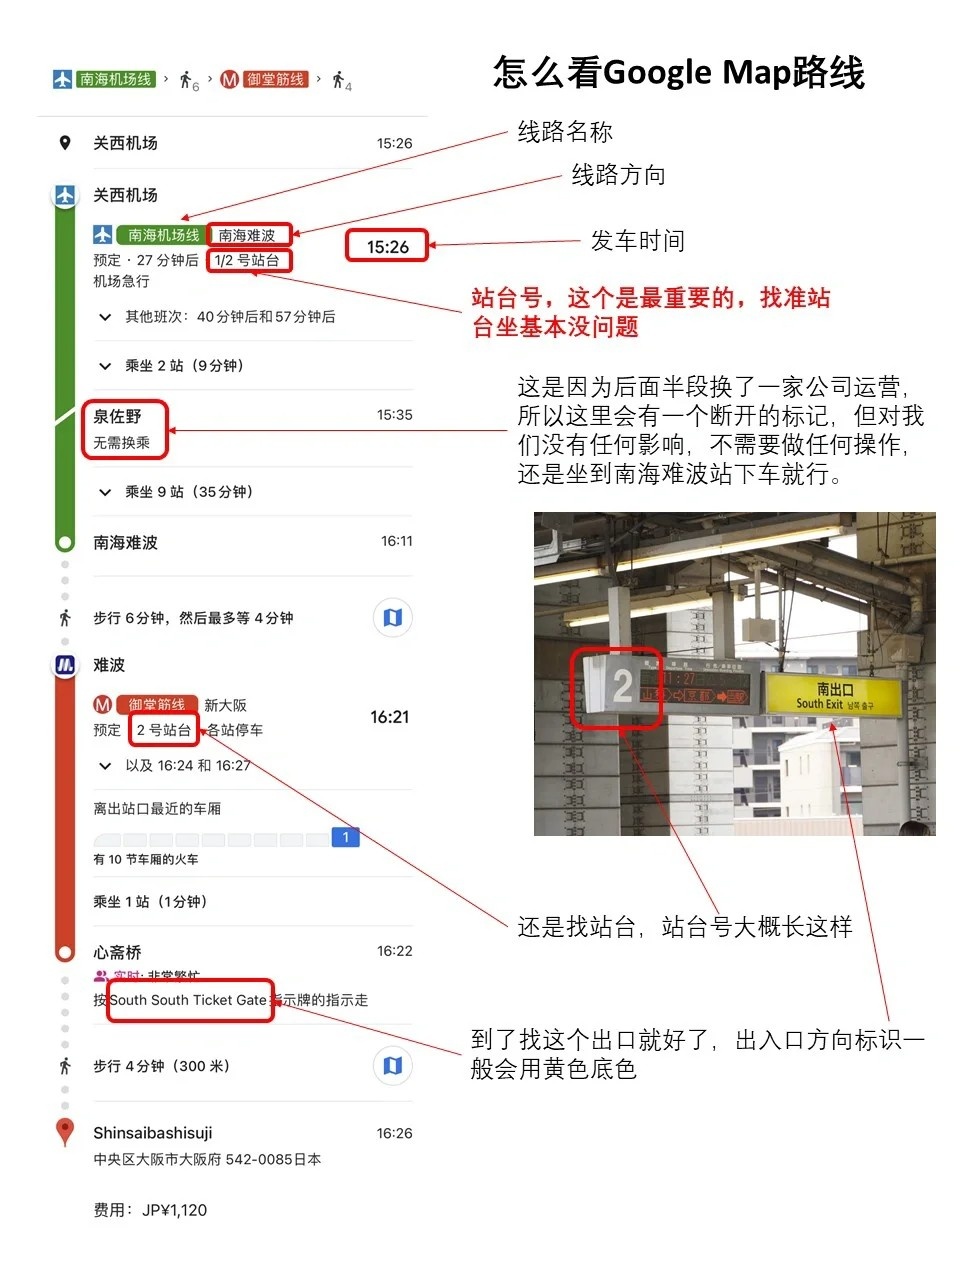
If you're planning ahead, you need to select a departure time on Google Maps, as different departure times may suggest very different routes. For riding instructions, refer to the image below. Note that besides the platform, you may also need to choose the correct train based on departure time, as different trains may stop at different stations. Google Maps' departure times are usually accurate (unless you're unlucky like me and encounter a typhoon), but it's still recommended to confirm the information on the platform signs.
Bus
Buses are relatively simpler. Usually, you board from the rear and tap your card (some buses may not have a card reader at the rear, so you don't need to). If the next stop is your destination, you need to press the button on the handrail or near the window. It will light up, and then you get off at the front door and tap your card. Note that Japanese buses require you to remain seated until the bus comes to a complete stop before standing up to exit at the front; otherwise, the driver will scold you (the driver said a lot, but I only understood the general meaning).
If paying with cash, you need to take a small ticket from the machine at the rear door when boarding (if there's no machine, it's a fixed-fare route and you don't need one). Then when getting off, insert coins according to the number on the ticket.
Making a Plan
It's recommended to plan each day in advance, especially if you have many pilgrimage spots. Below is my one-day Kyoto pilgrimage plan, though there were some oversights, for reference only.
Pilgrimage Map should be known to many fellow pilgrims, but it actually has a positioning function! The netizen who went with me to Toyohashi didn't know.
| Time | Location/Commute | Pilgrimage Anime | Notes |
|---|---|---|---|
| 7:30 | Depart from Osaka, rail transit | ||
| 9:20 | Kyoto Animation | Lucky Star K-On! Season 2 | |
| 9:40 | Walk 15min | ||
| 9:55 | Kyoto Animation 2nd Studio | Lucky Star The Melancholy of Haruhi Suzumiya Love, Chunibyo & Other Delusions! Heart Throb | |
| 10:10 | Rail transit | ||
| 10:50 | Keihan Electric Railway Fujinomori Station | Tamako Market | |
| 11:40 | Walk | Eat lunch on the way | |
| 12:20 | Fushimi Inari Taisha | Love, Chunibyo & Other Delusions! -Take On Me- The Dangers in My Heart Season 2 | |
| 13:20 | Rail transit | ||
| 14:00 | Kiyomizu-dera | Lucky Star Tsuki ga Kirei | |
| 15:00 | Rail transit | ||
| 15:30 | Kyoto Station entrance | Deaimon Tamako Love Story Love, Chunibyo & Other Delusions! -Take On Me- | After finishing, drop luggage at hotel |
| 16:20 | Kyoto Aquarium | Love, Chunibyo & Other Delusions + Deaimon | |
| 17:00 | Rail transit | ||
| 18:00 | Kamogawa Delta | K-On! Tamako Love Story | Sunset time |
| 18:50 | Demachi Shopping Street | Tamako Love Story Tamako Market K-On! Season 2 Love, Chunibyo & Other Delusions! -Take On Me- | Eat dinner nearby |
| 20:00 | Rail transit | ||
| 21:00 | Setagawa Bridge | Love, Chunibyo & Other Delusions! | If time permits earlier, go to must-visit spot |
| 22:00 | Rail transit | ||
| 22:30 | Kyoto Station platform | Tamako Love Story | If not going to Setagawa Bridge, expected at 20:45 |
The commuting times can basically be checked in advance on Google Maps, and then you can search for others' experiences to estimate how long to stay at each spot. Actually, the above plan had some oversights, which I'll share as lessons.
- Pay attention to the best time for each spot. For example, I went to Demachi Shopping Street too late, and many shops were closed, reducing the fun.
- Leave as much time as possible for each spot. In the above plan, the time for Kyoto Aquarium was too short; buying a ticket felt not worth it, so I gave up entering.
- Check in advance for renovations, etc. At Kiyomizu-dera, I couldn't visit the love success spot
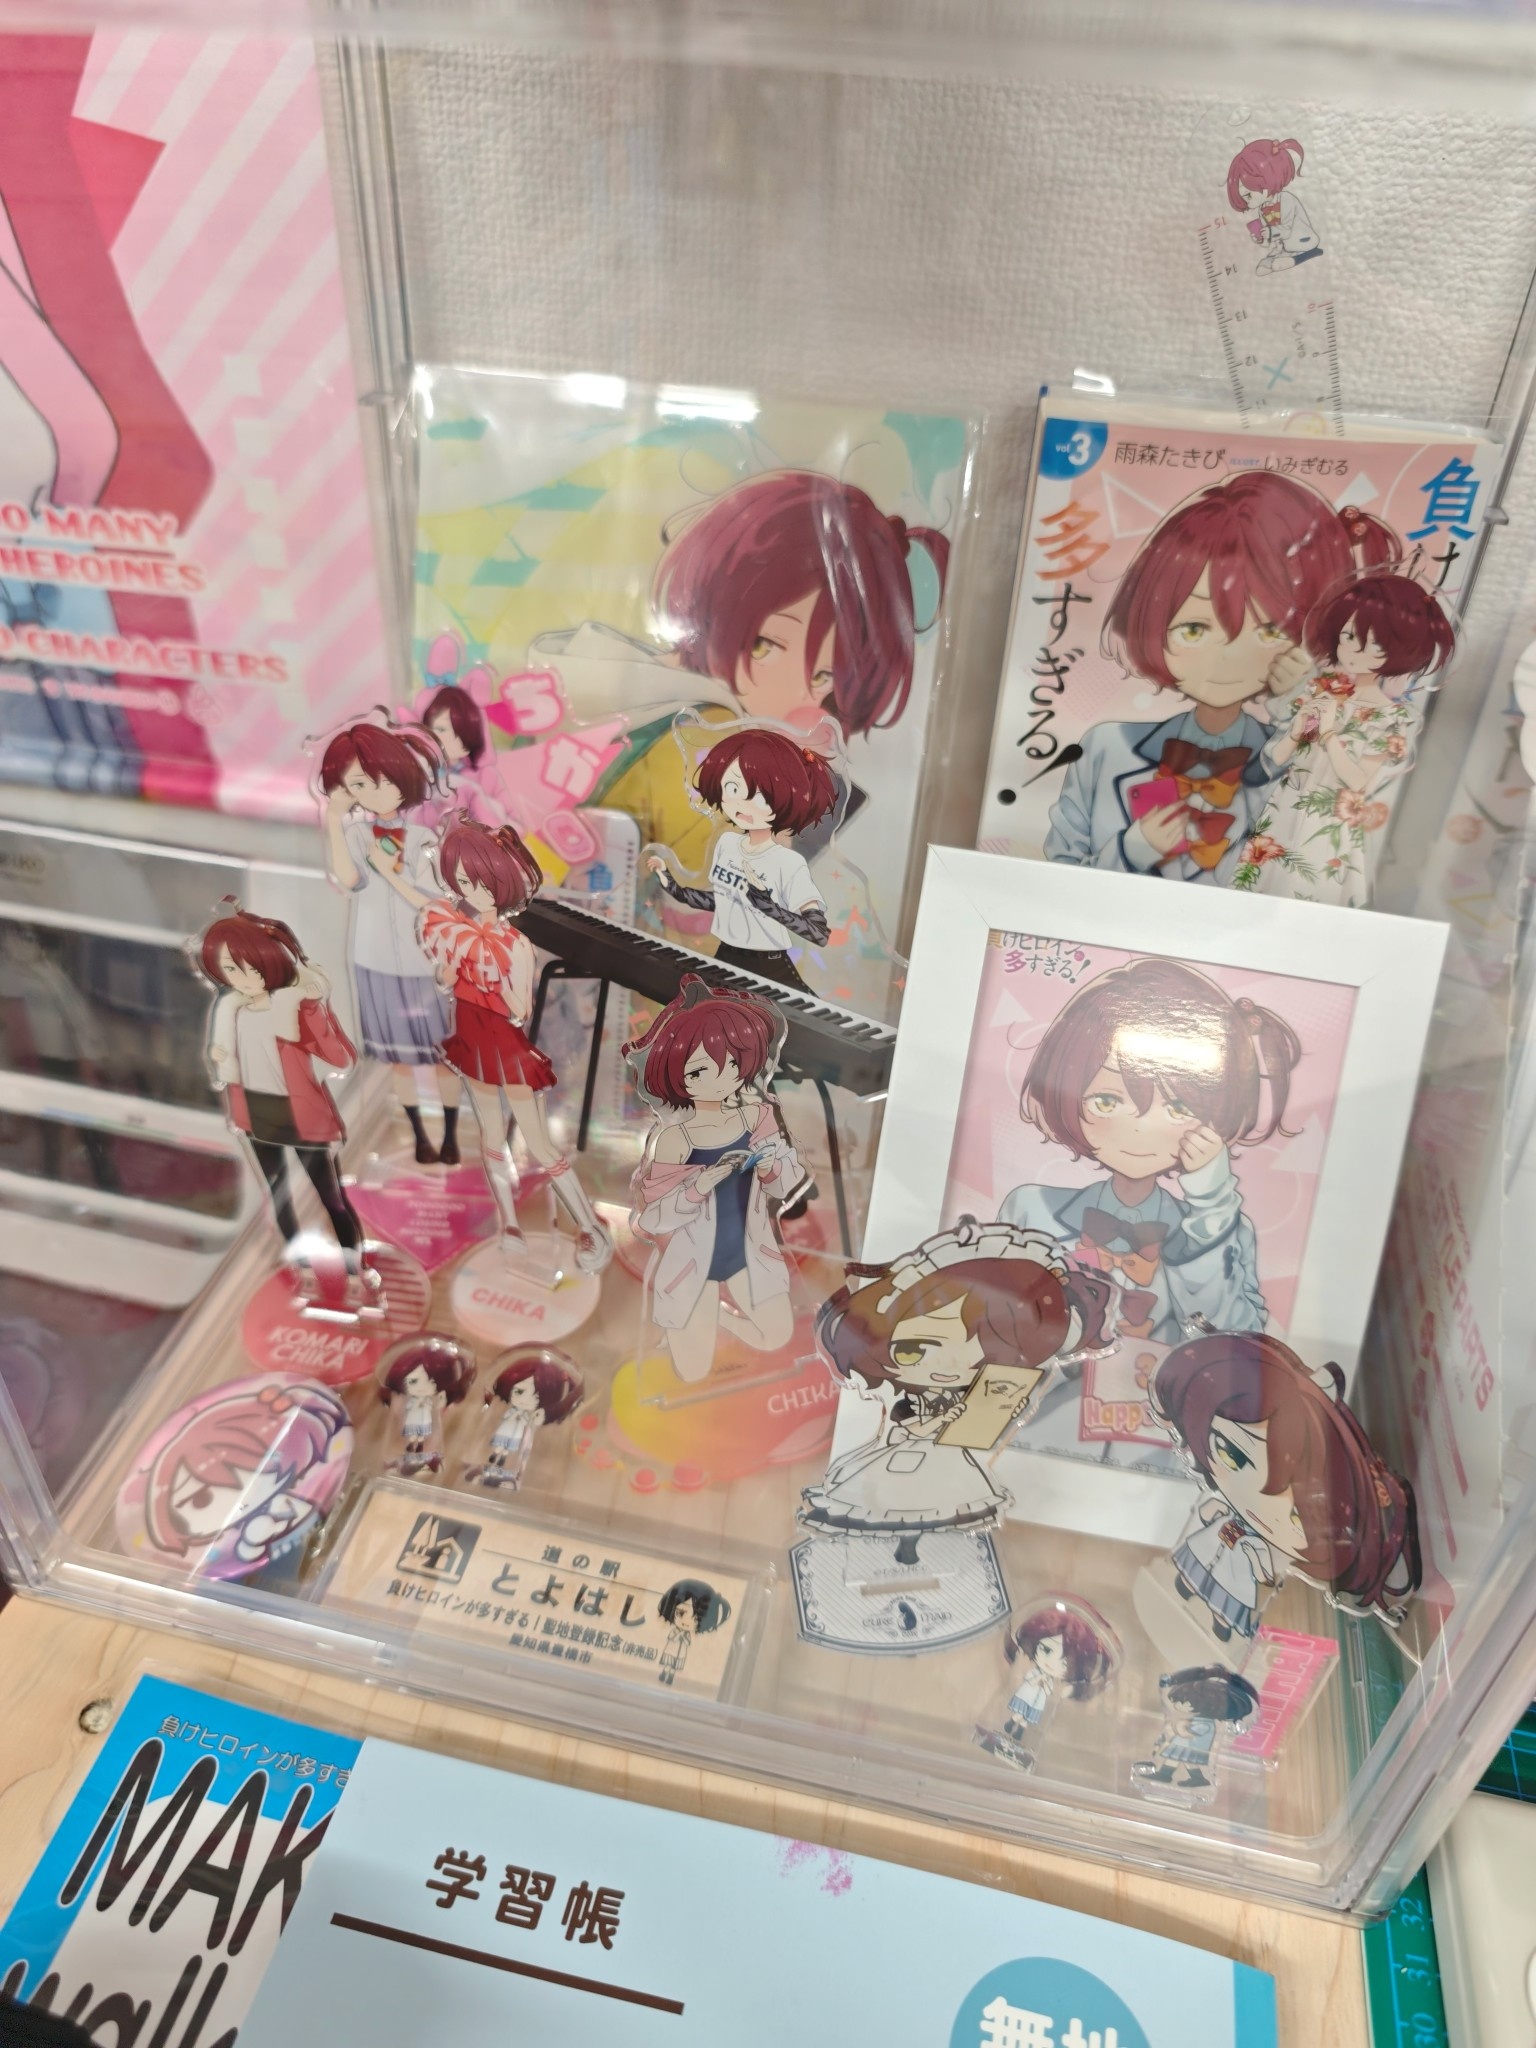
, so I guess it was not meant to be. - You can check in advance if there are any events at your destinations. For example, Toyohashi had a Makeine stamp rally.
Food
What to eat during pilgrimage? Just grab something at the convenience store.
Actually, you don't need to specifically plan meals in advance. When it's mealtime, just search for nearby restaurants on Google Maps.
Drinks are more convenient. You can buy them at convenience stores, and there are many vending machines. Insert coins, press the button, and the drink and change will come out from the bottom. The prices of water and drinks in Japan are actually similar, around ¥(JPY)100-150. Before returning to the hotel at night, you can buy a 1-2L bottle of water at a convenience store for about ¥(JPY)120, which is more economical.
References (x)
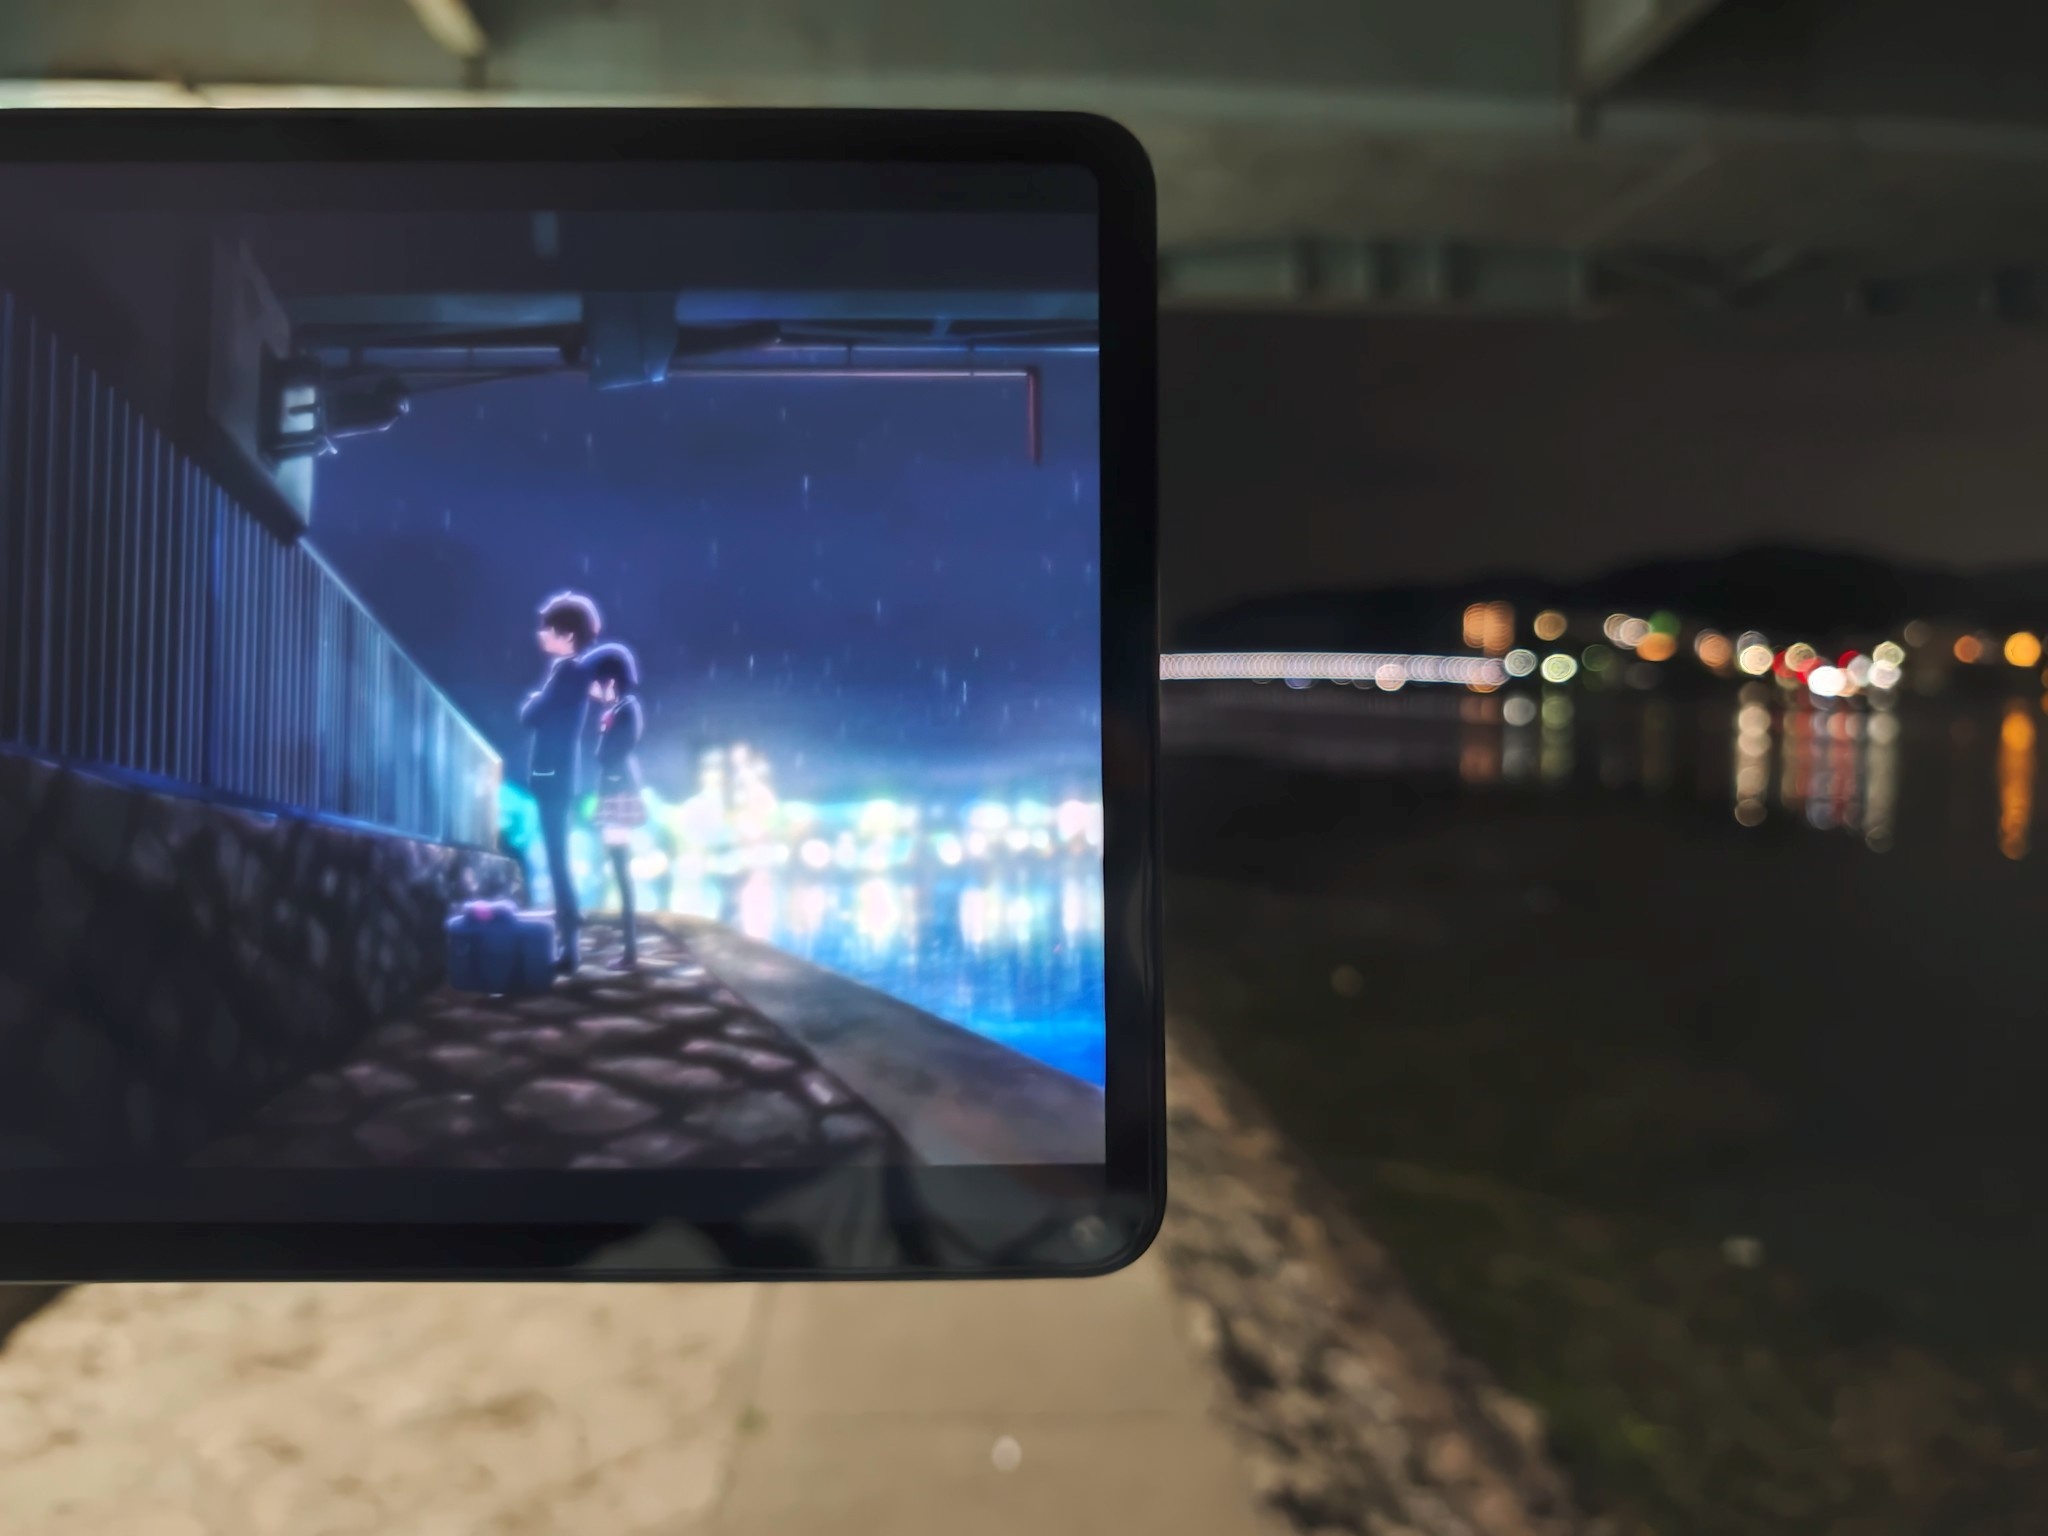
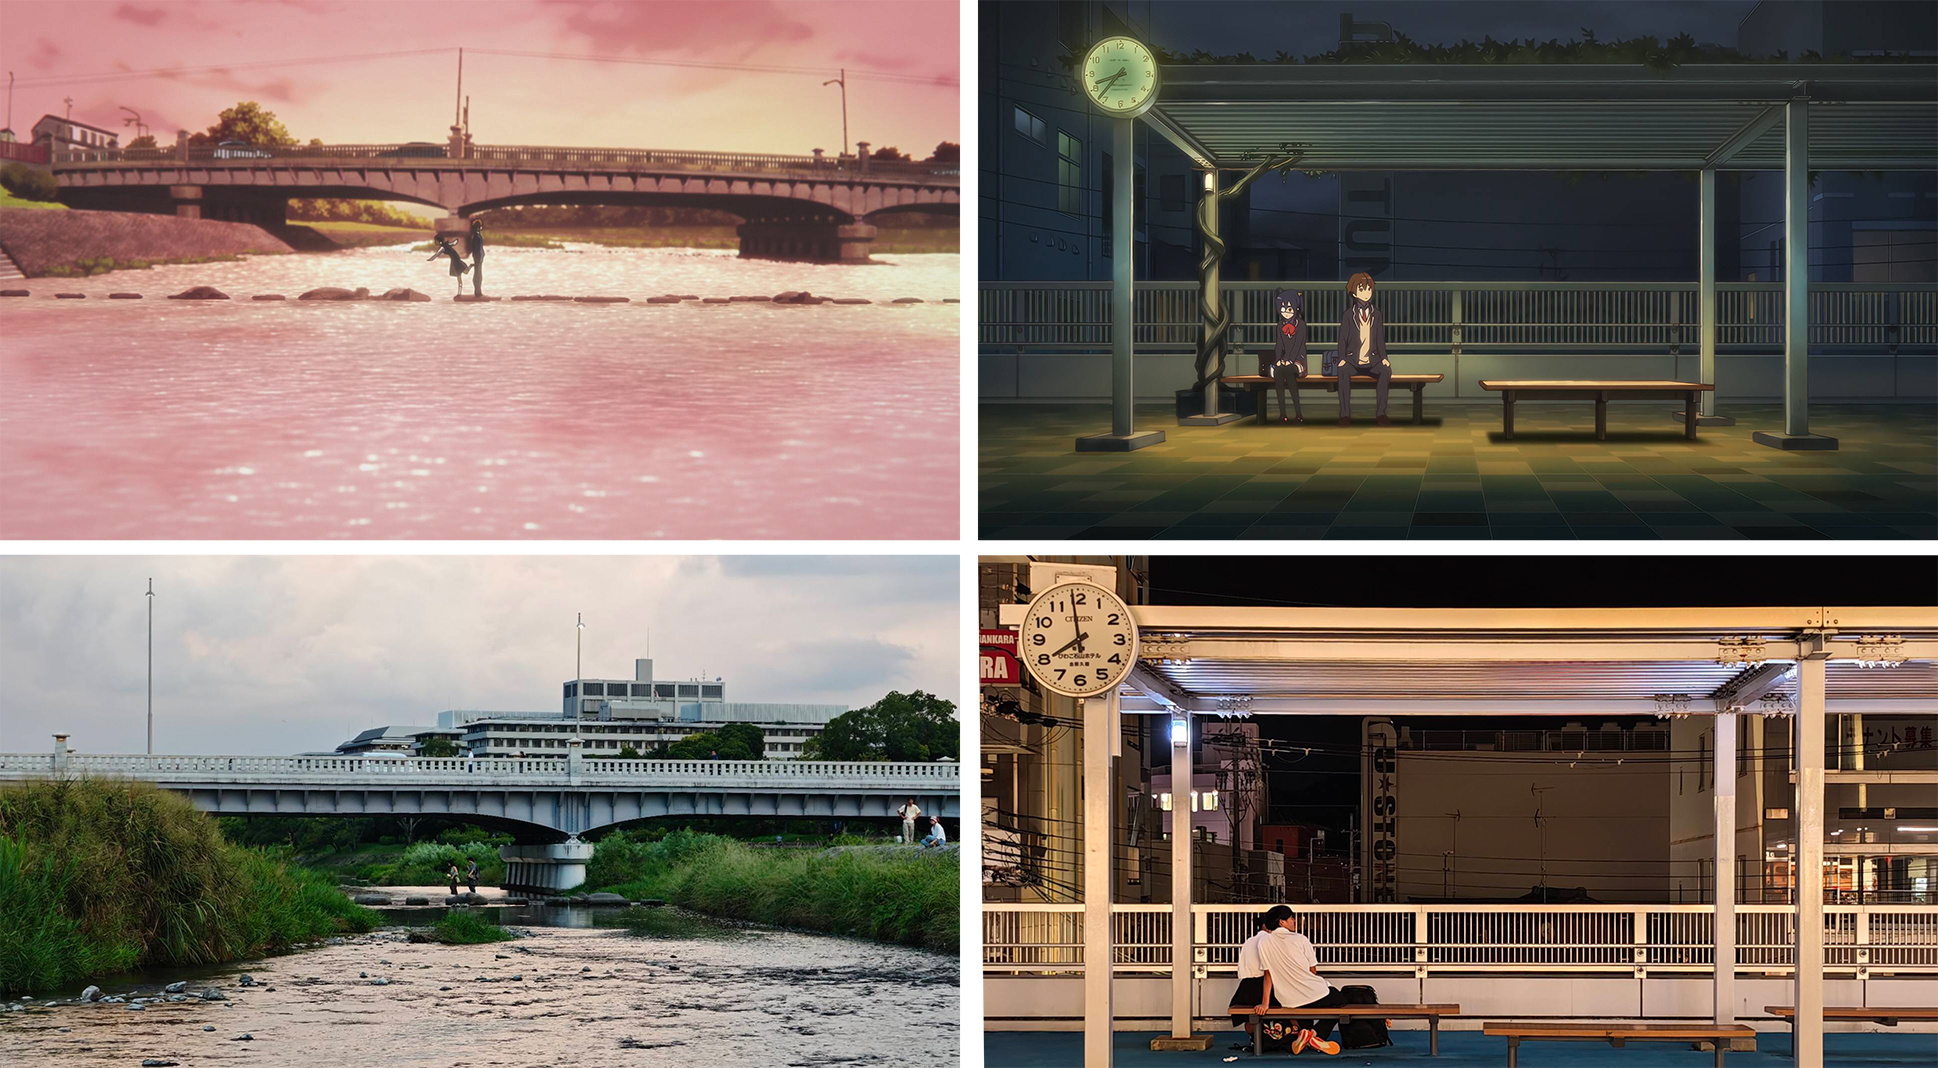
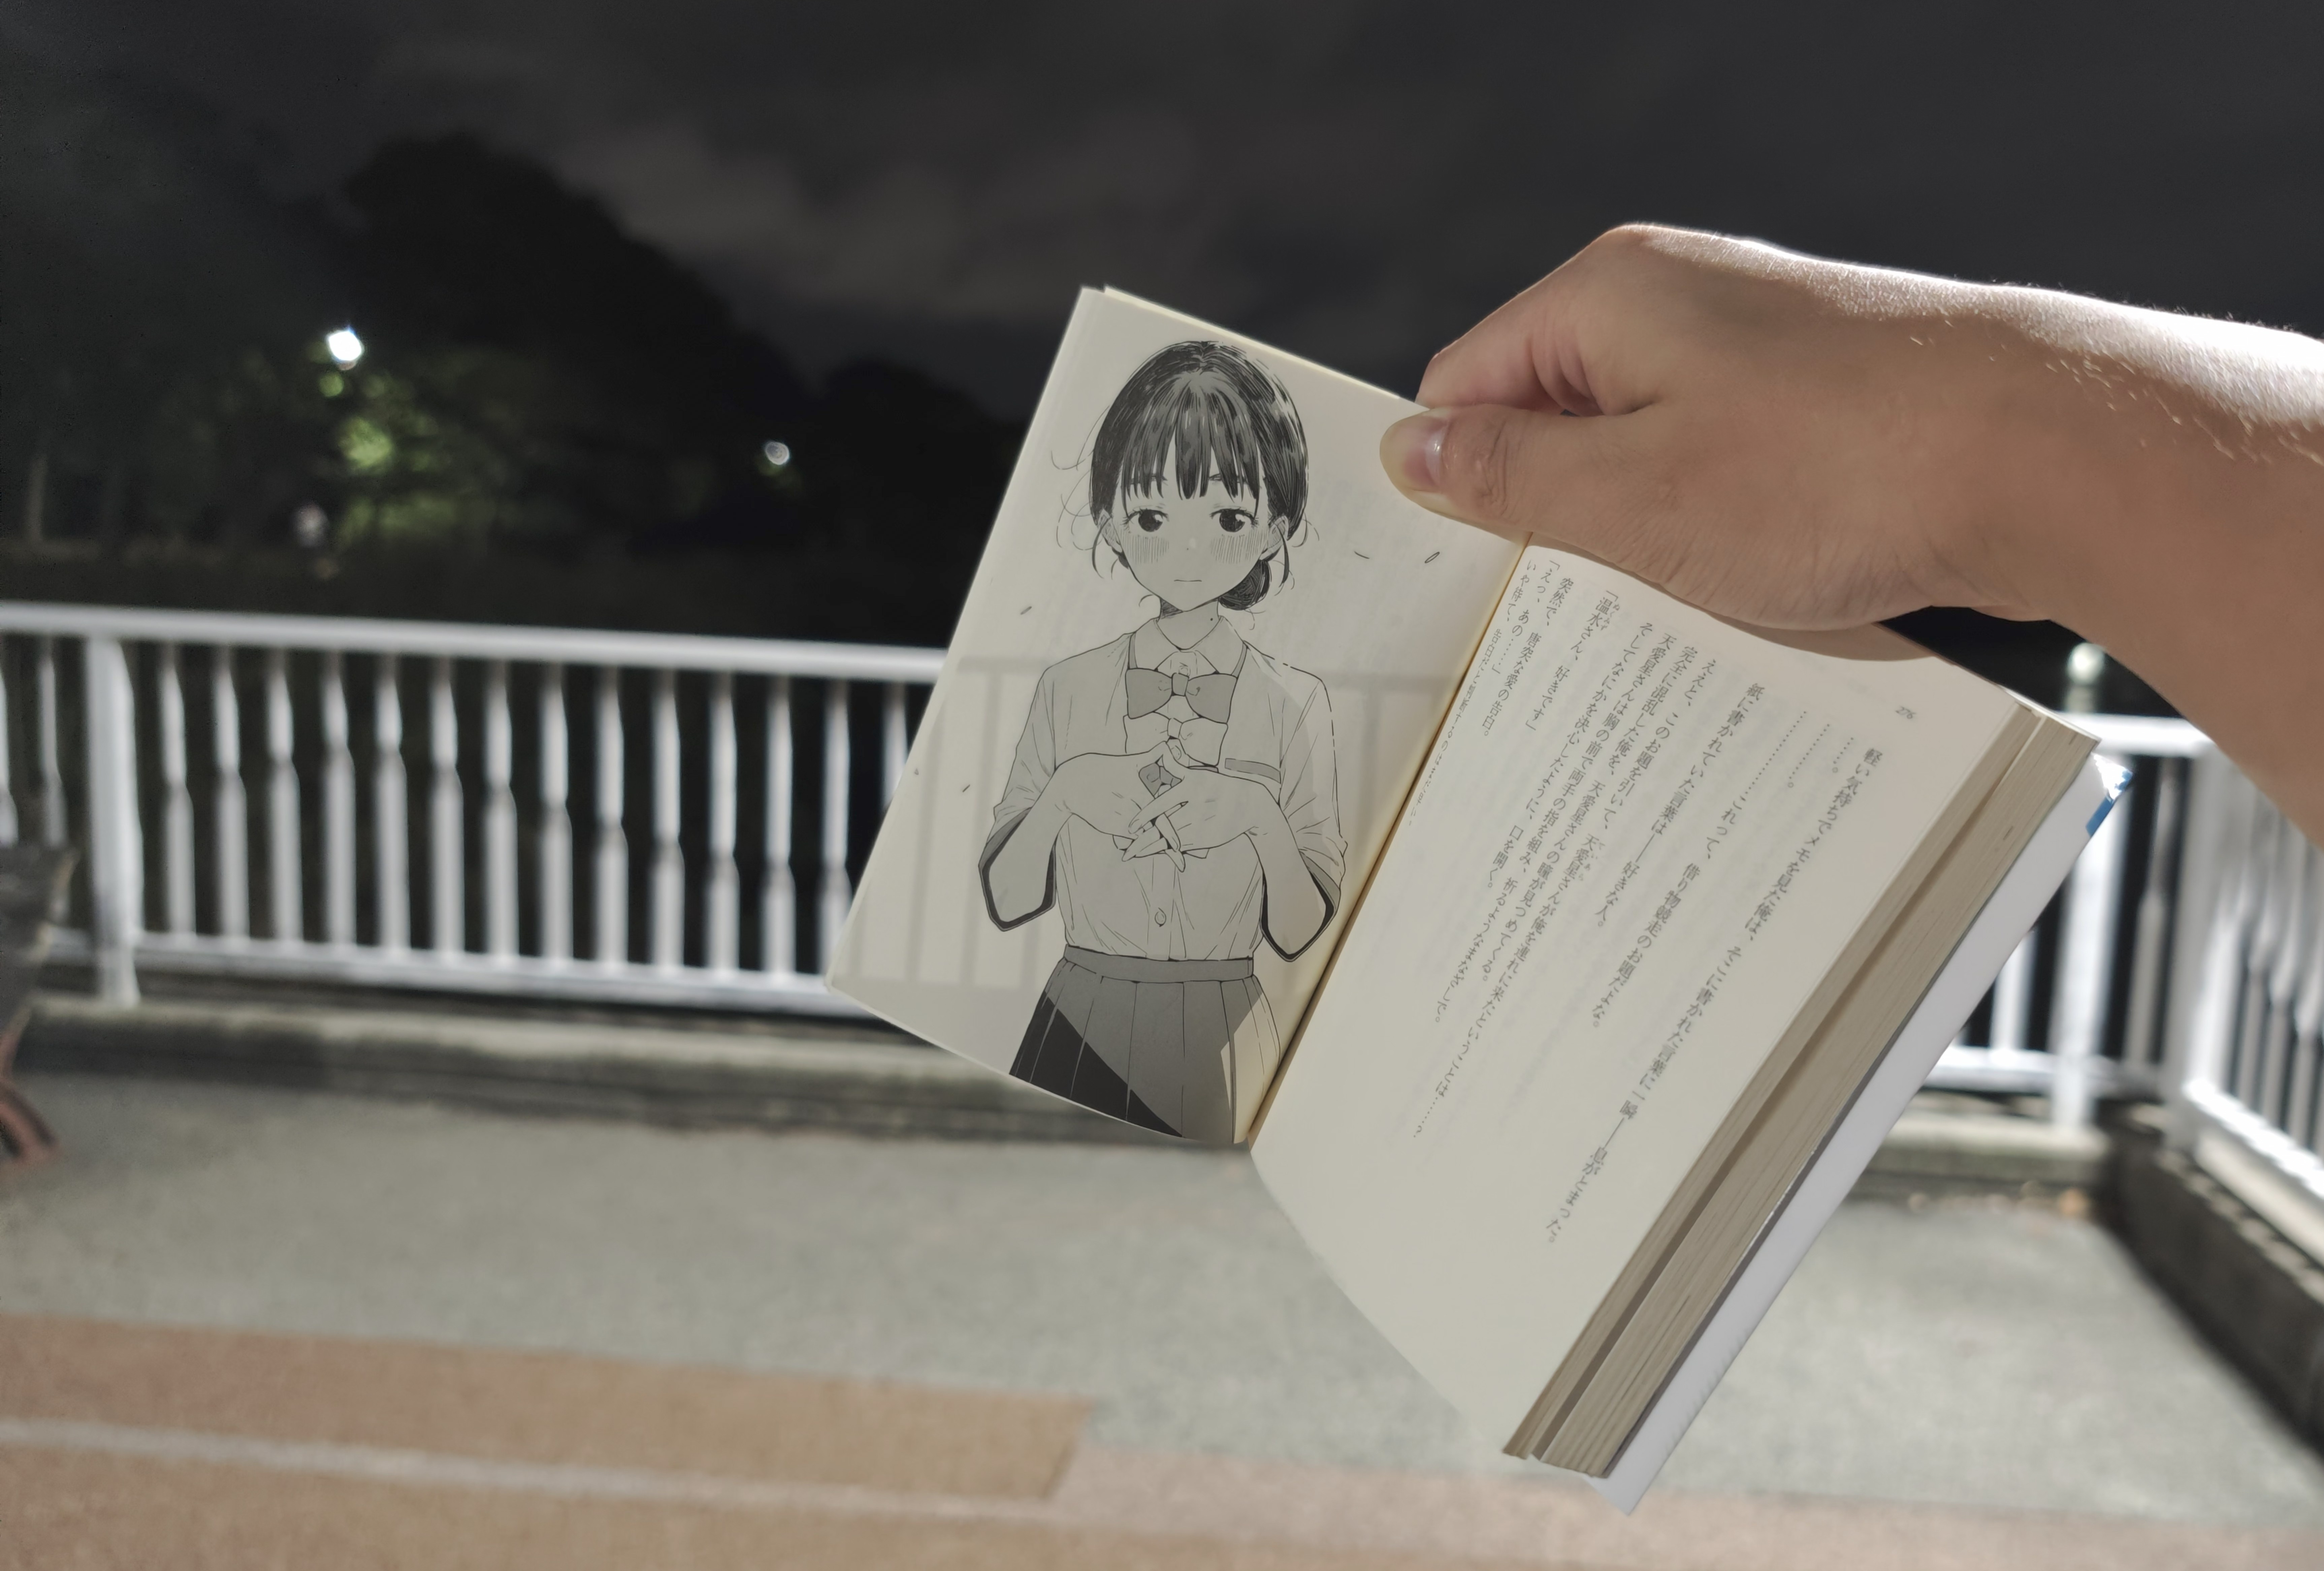
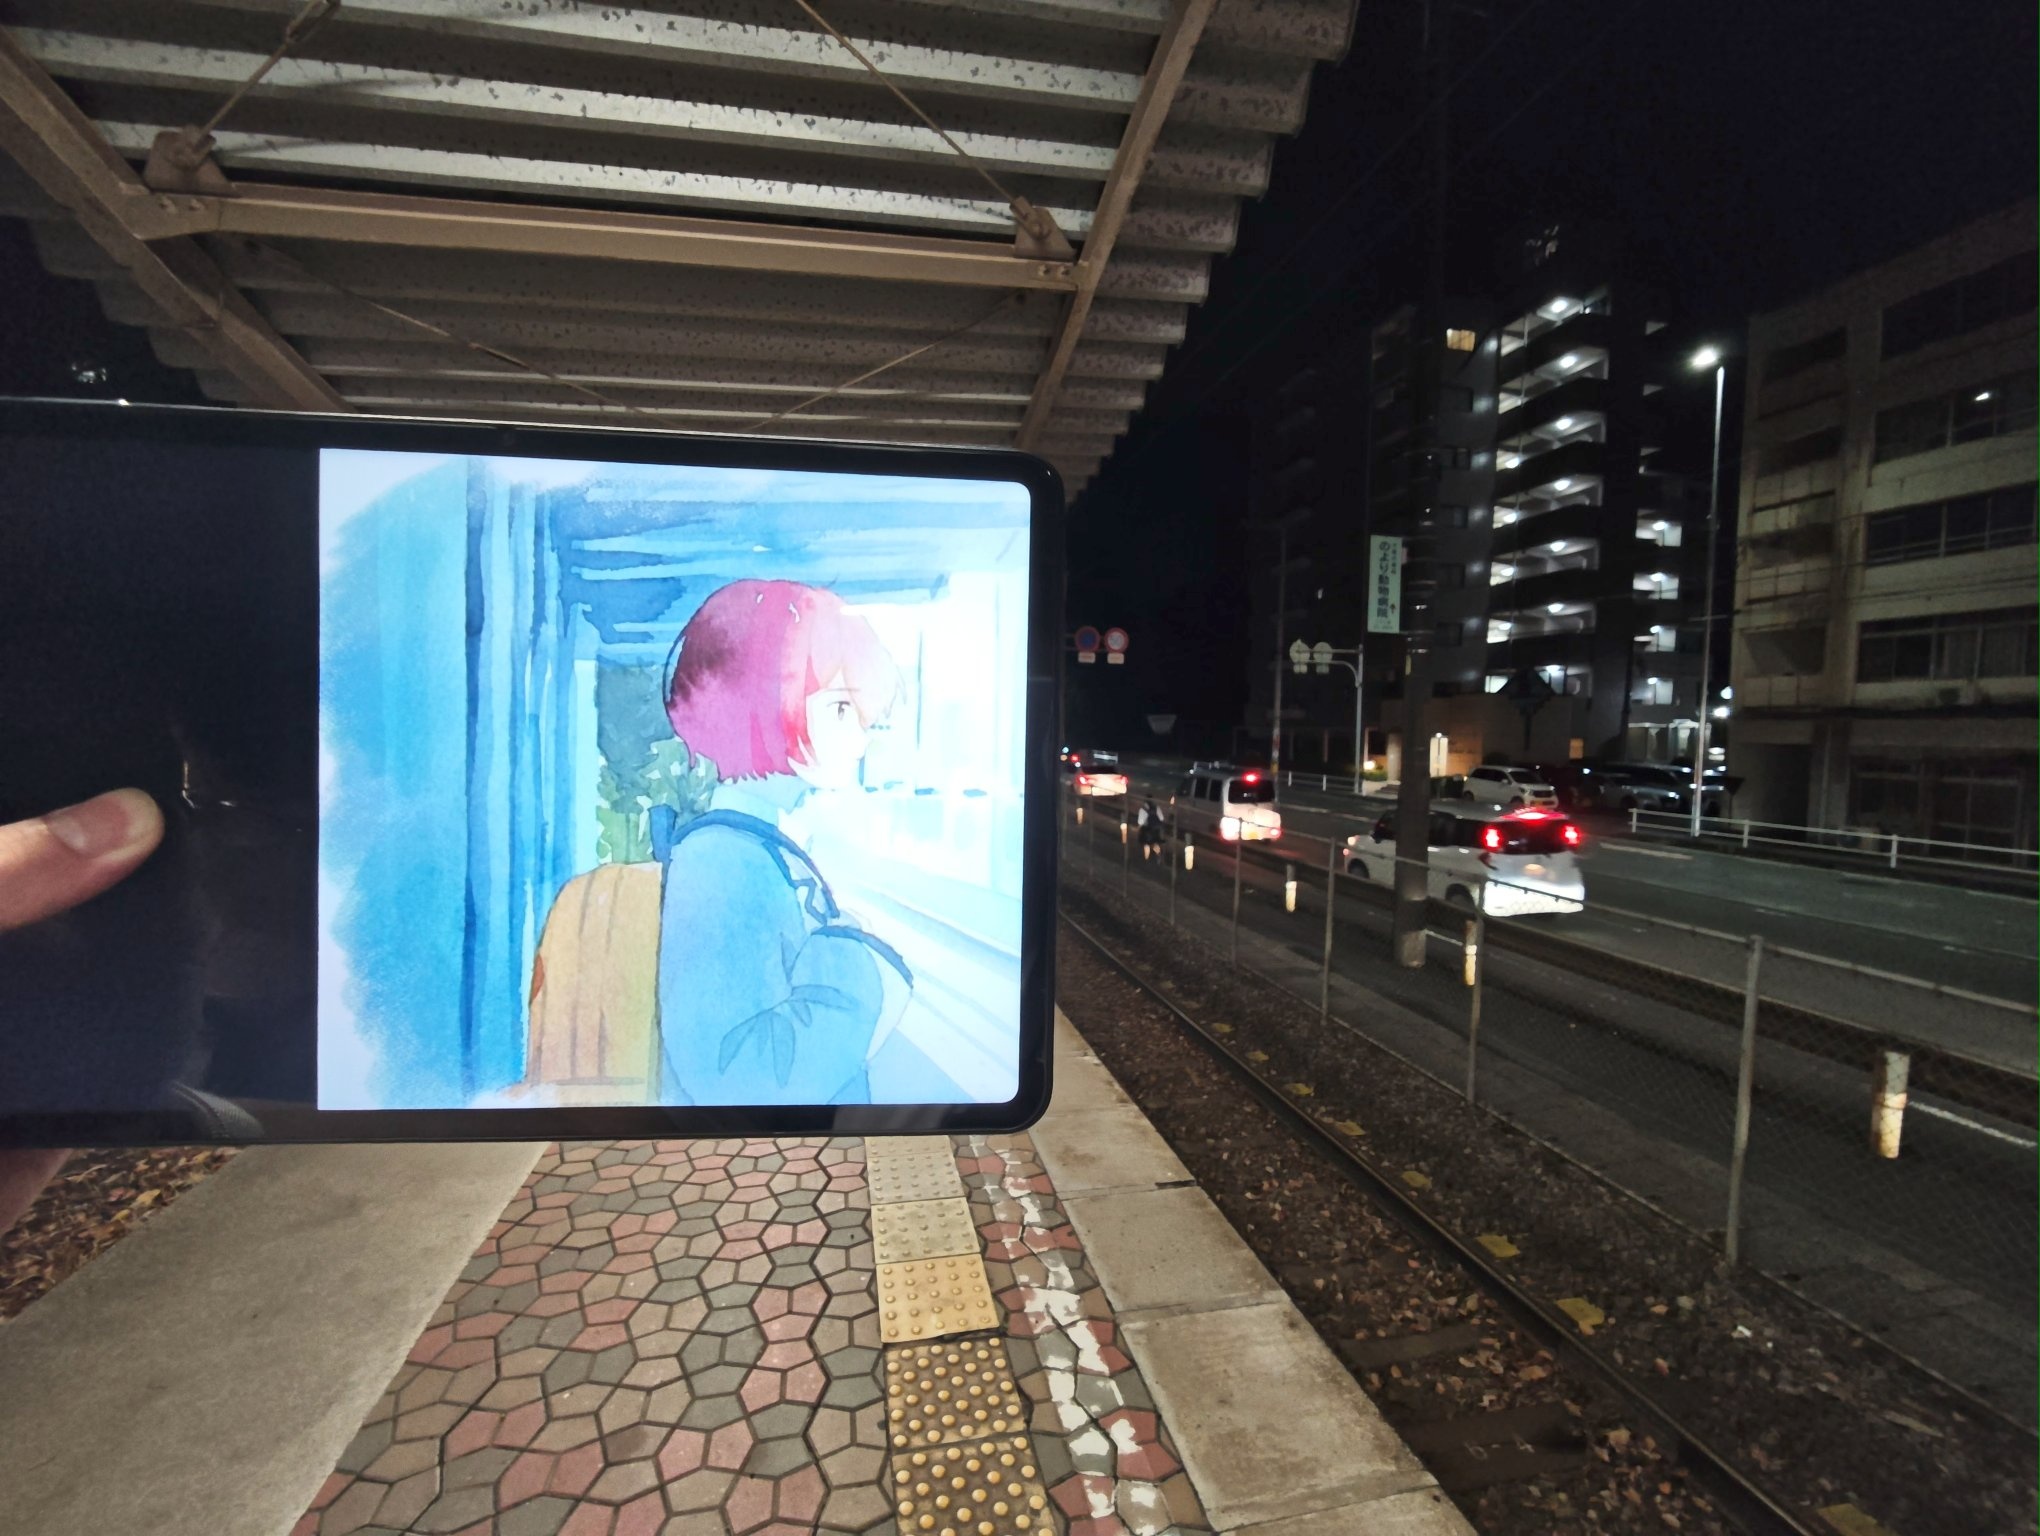
Photos
Finally, share a few pilgrimage photos.